Dial
This control expands the functions of the meter control, mainly adding more dial styles, and can set the alarm range.
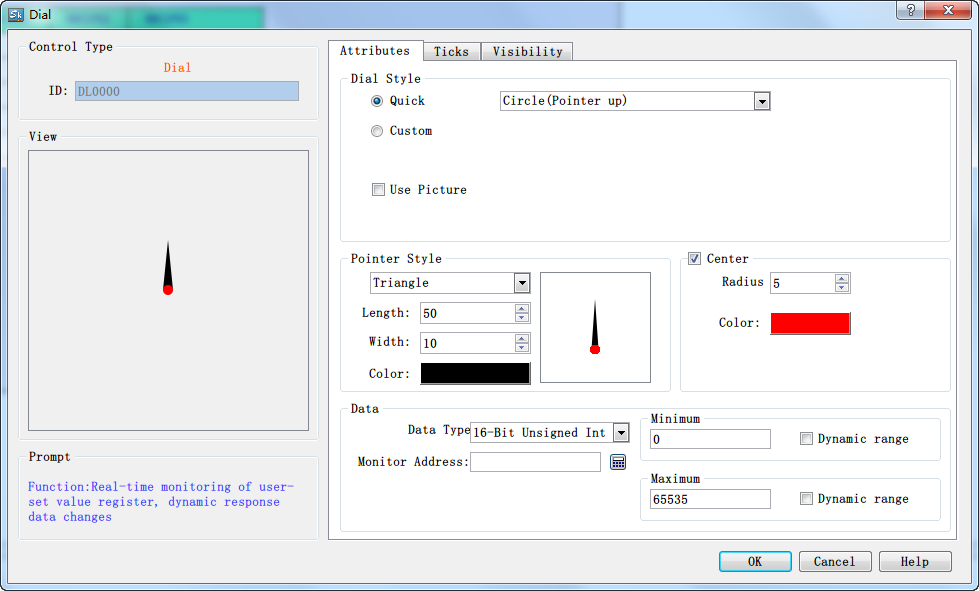
General page for dials
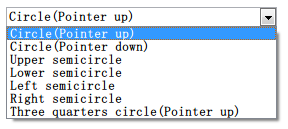
Ø Dial styles: suppport custom styles and preset styles. preset styles are like these:
Custom styles: we can customize the angle of the dial like this:
![]()
Note: There is a range limitation. The starting angle is between [-360, 360] and the ending angle is between [starting angle, min(starting angle +360, 360)],
where min represents the minimum of the two.
Ø Unlike the meters, the dials can set dial pictures:

There are two ways to set dial picture after selecting "Use Picture", one is to select the system picture:
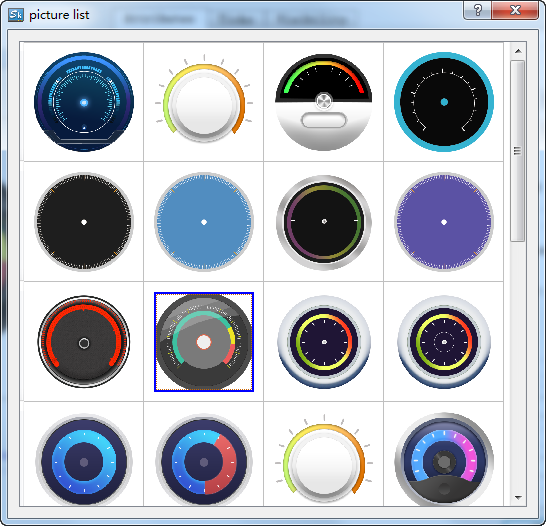
select a picture and click to set it on the dial. The other is to select the external picture:
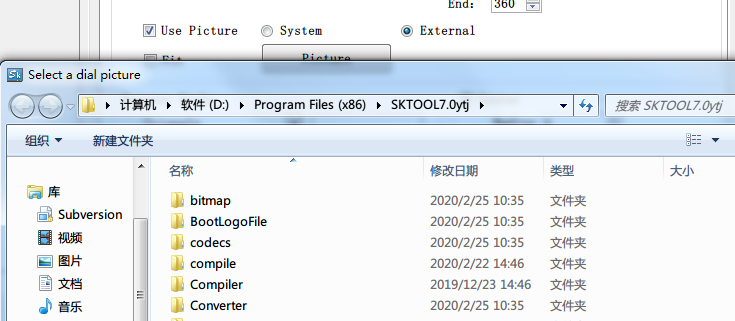
users can select pictures in the specified directory.
Fit to the dial size : mainly
used in conjunction with the dial style, the selected picture will be cropped
to the dial size when checked.
: mainly
used in conjunction with the dial style, the selected picture will be cropped
to the dial size when checked.
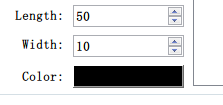
Ø Pointer styles
support four styles,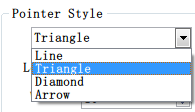
we can custom the length, width and color of pointer.
Ø Center
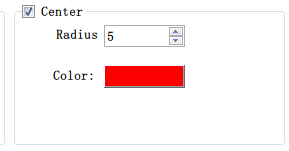
Check to display the center of the dial(equivalent to the base of the meter), adjust the size of the center by "Radius". We can also adjust the color of the center by "Color".
Ø Data type: Choose different data types according to their needs.
Ø Monitor address: Read the address value that is shown by the pointer on the dial plate.
Ø Maximum: Set the
maximum value that cannot be exceeded by the monitor address value,check this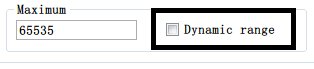 to set a
dynamic value.
to set a
dynamic value.
Ø Minimum: Set the minimum
value that the monitor address value cannot be lower than,check this to set a
dynamic value.
2.Click the "Ticks" page to set the tick properties as shown:
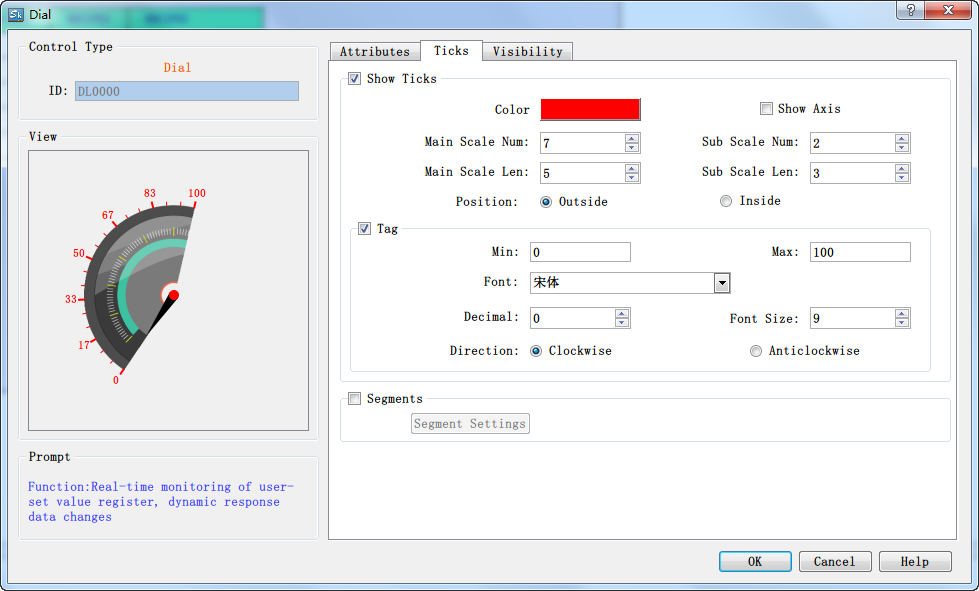
"Ticks" page
On this page, users can set the color of the ticks, the number of main scales, the number of sub scales, whether to display the axis and whether to display
the scale tags and other options.
Ø Scale
Check "Show Ticks" will draw a scale line on the edge of the dial, and check "Show Axis" will display the dial circumference. Set the number of scale lines
displayed on the dial by "Main Scale Num"/"Sub Scale Num", and modify the length of the scale lines by "Main Scale Len"/"Sub Scale Len".
If you choose "Outside", the scale and the scale tags will be drawn outside the scale axis, otherwise, they will be drawn inside the axis.
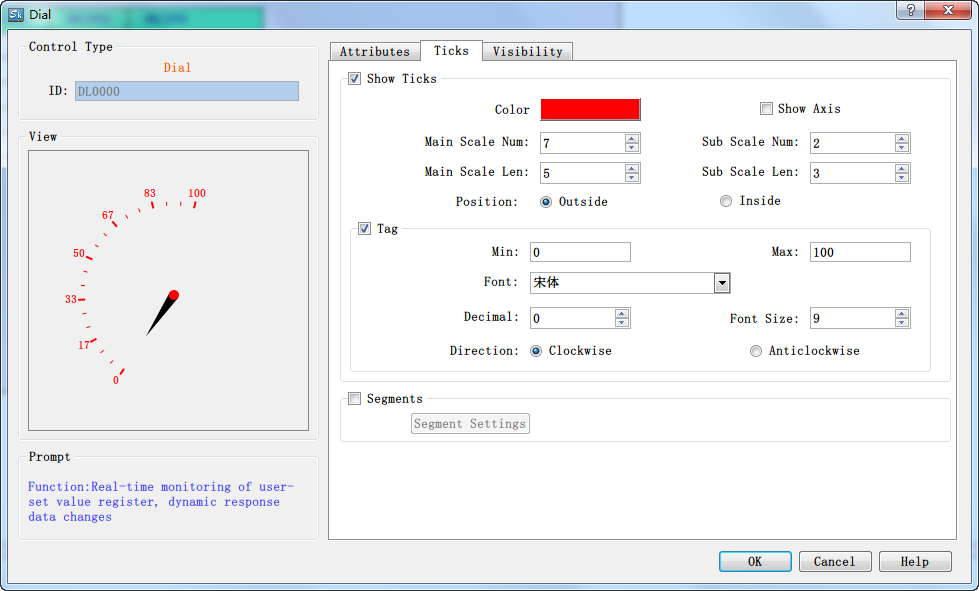
Check "Tag" to display the scale value. Set the scale range by "Min" and "Max", and set the scale display style by "Font" and "Font Size". The tags support
decimals, which can be achieved by setting "Decimal".
Modify the display direction of the scale by setting "Direction".
Ø Segment setting: check "segments" the dial will be divided into three segments according to the scale, and displayed in different colors.
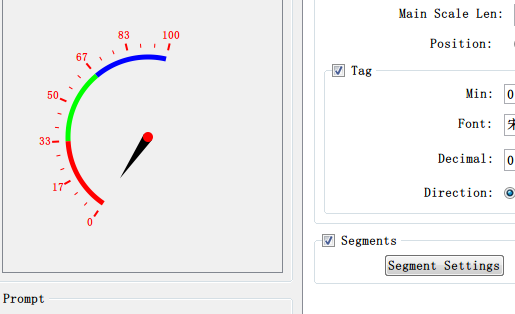
Click "Segment Settings" to enter the "Segment Settings" page:
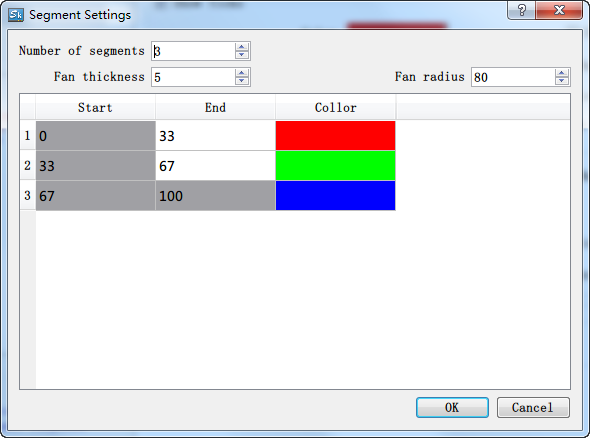
Users can set up to 5 segments at most. Modify the fan width by "Fan Thickness" and modify the position by "Fan Radius".
Double-click the end scale
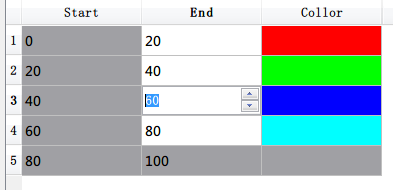 to modify the range of
each segment.
to modify the range of
each segment.
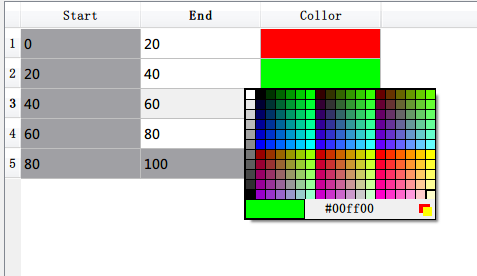
Click the color to set the color of each segment.
3. In the screen editing area click to draw the control. The effect diagram of the dial control is as follows:
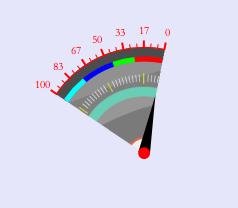
Dial control
4. Select the dial control graph, move the mouse on the 8 small green dots to modify its size; double-click to re-modify the control properties.

Dial control has a fixed aspect ratio; if modify the size, its length and width enlarge or shrink in the meantime.
The "Visibility" page can refer to that of "Bit Button" control.