Address Library
The address library control, the user is an alias for the register, and the user can access the variable that needs to be read in two ways of using the address tag and the register address.
The use of the address library is described below
Ø Set the address library tag
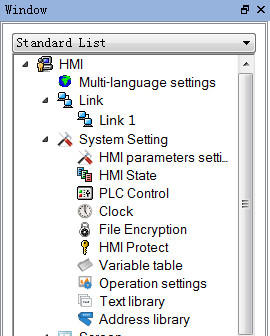
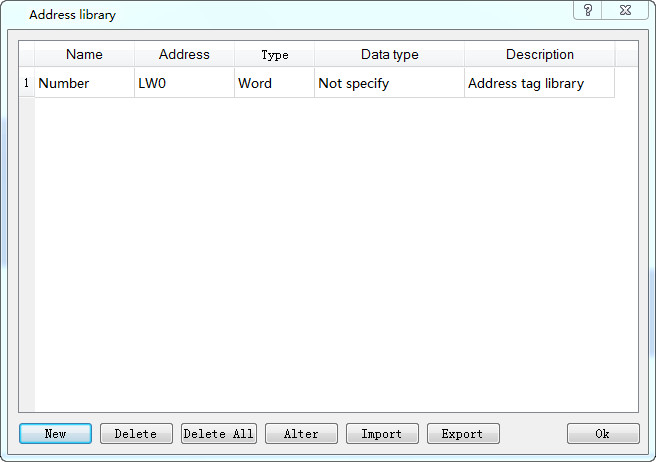
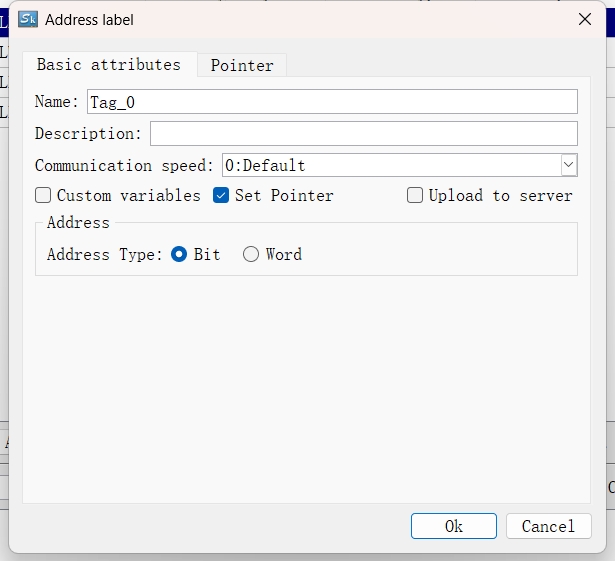
Double-click the "address library" option to pop up the following dialog
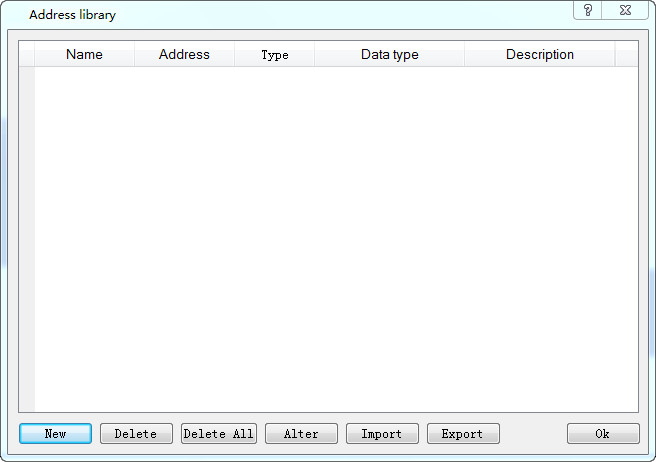
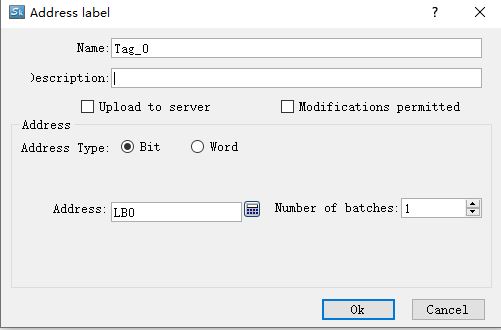
Click the new button to pop up the following dialog
Description:Add the description information to the current added address library tag to facilitate users to view the current variable information and USES
Command: the custom address tag is the equivalent of setting an alias for the register, which can be used in the direct space to select the variable alias to achieve the use of the register
Address type: set the data type of the variable alias, and there are only two options
Address: set the register address associated with the address tag
Address number: users can add address tags in bulk, and the current address tag function only supports the operation of a single variable, without an array of address tags
Set up a lw0 address tag number in the figure below, and the following diagram is shown as shown in the following diagram
Ø Use the address library tag
The lw0 address tag, defined in the figure above, is used as an example to describe the usage of the address
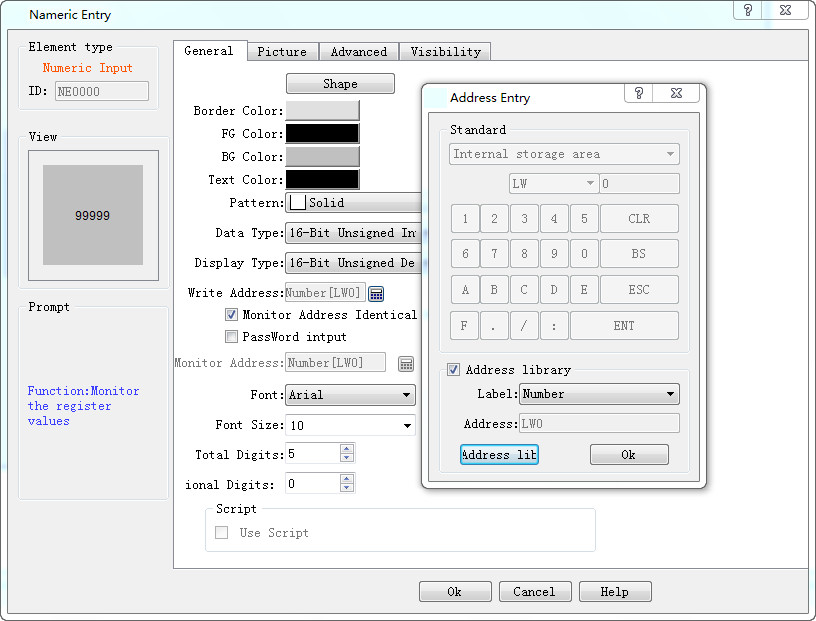
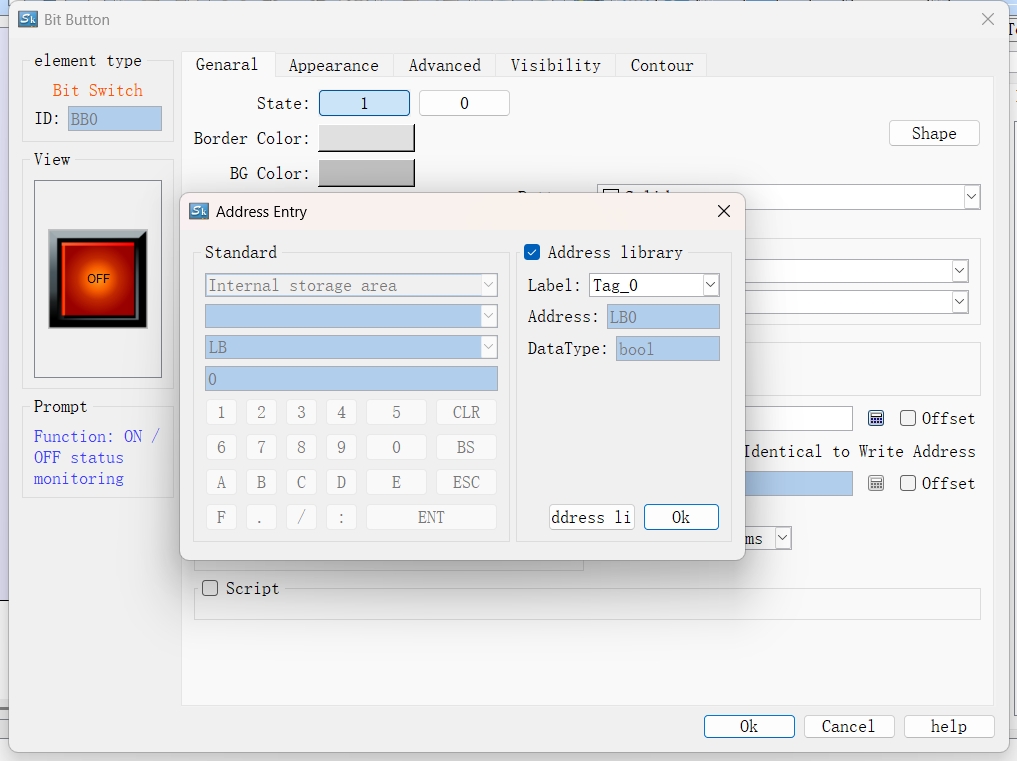
Select the select address input control, select the address tag library, select the label that you need to use, and see the address in the address of the site label in the address, click the address library, and the user can view all the address tags that the current user defines.
The following diagram is shown following the completion
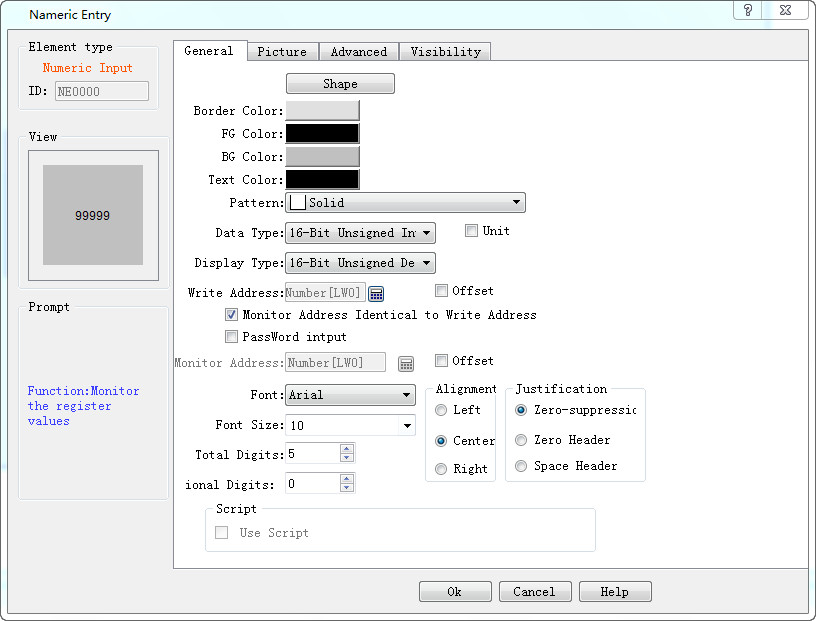
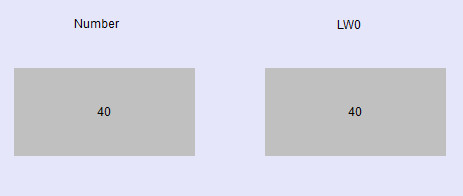
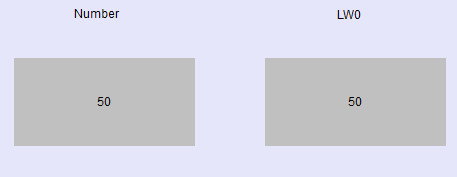
In the image, a numeric input control is placed, the address lw0, as shown below
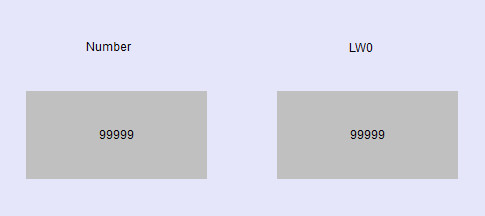
Download to the touch screen or use in the online analog function monitor operation effect, this is an example of the online simulation, and the input data 40,lw0 registers in the number changes, and the input in the lw0 is also changed
Address tag function, convenient for users to define a special address label for the commonly used register, use the change address label in the configuration program, reduce the user's cumbersome address input, and make it easier and faster to complete the writing operation of the configuration
Ø Address Label Pointerization
By checking the "Set Pointer" option, an address label can be configured as a pointer label.
Select the "Pointer" tab, and then the pointerization parameters can be set.
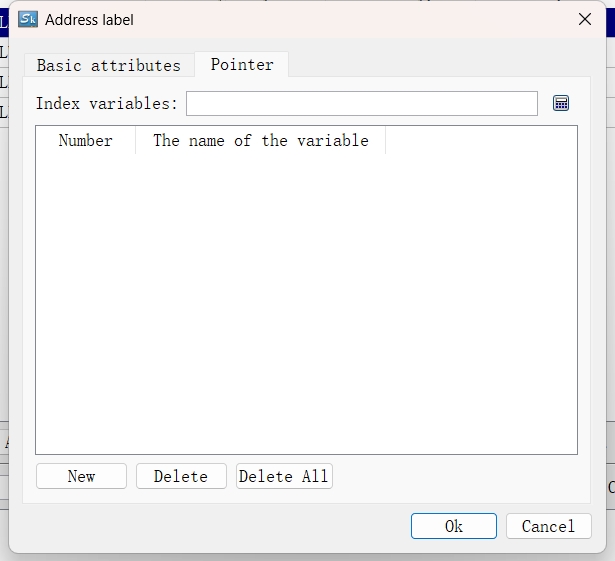
Index variables: An index variable is an address label with an address type of "Word". A pointerized label will select the specific address label it points to based on the value in the register corresponding to the index variable.
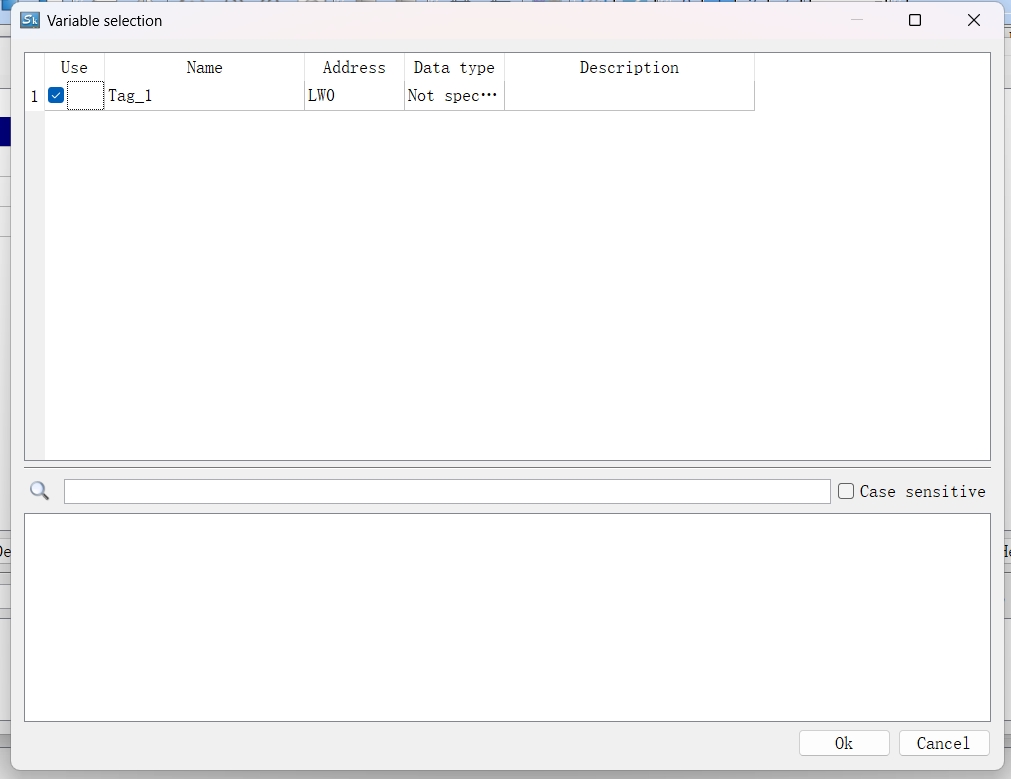
Click the button after the input box, and a dialog box will pop up for selection (only word - type address labels will be listed in the dialog box). After checking the desired address label, click OK.
Click the "New" button to select the variable to be pointed to.
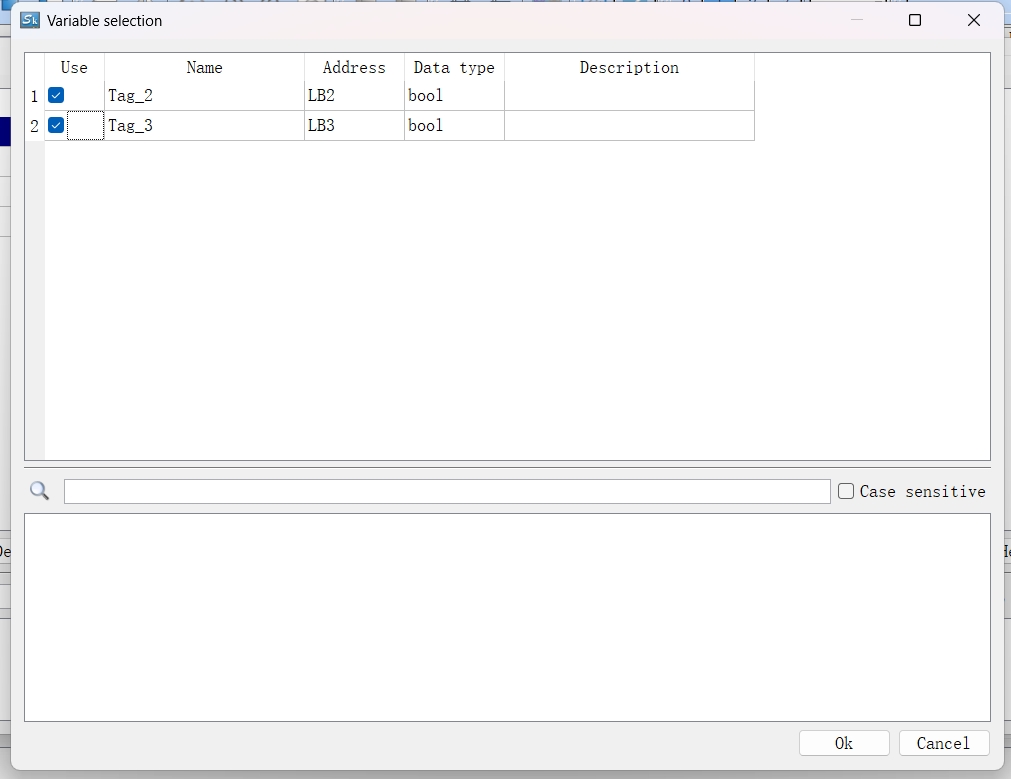
After making the selection, click OK.
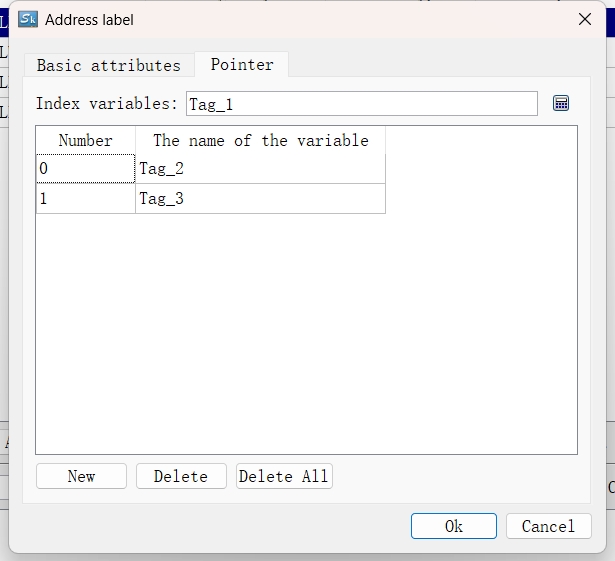
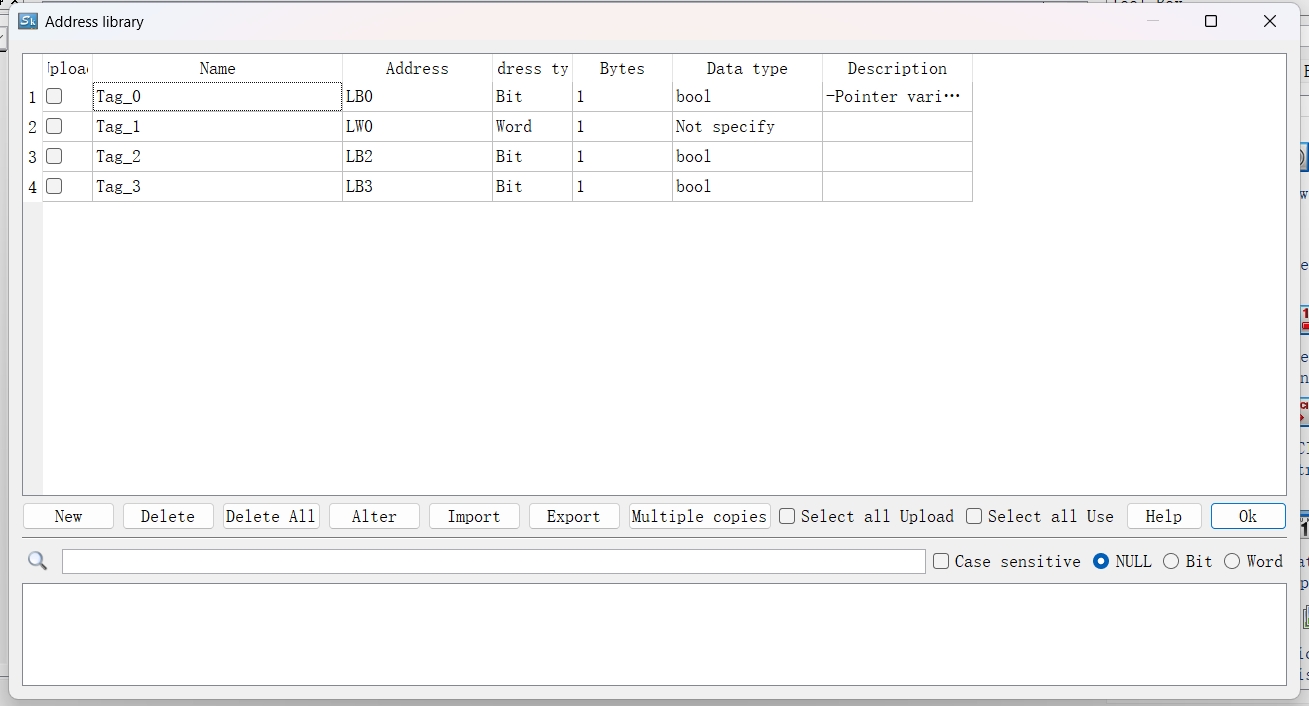
The pointerized Tag_0 points to the addresses corresponding to the actual Tag_2 and Tag_3 through the value of the index variable Tag_1. When the value of Tag_1 is 0, the Tag_0 variable points to Tag_2 (LB2). When the value of Tag_1 is 1, the Tag_0 variable points to Tag_3 (LB3). Here, 0 and 1 are the serial numbers corresponding to the variables. The description of Tag_0 will become "pointer variables".
Ø Using Address Pointer
Using a pointerized address label is the same as using a normal address label. Simply check the label in the tag library to use the corresponding address label.
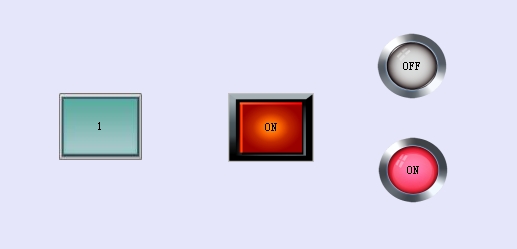
In the figure below, the bit button uses the pointerized address label Tag_0, while all other controls directly use internal addresses.
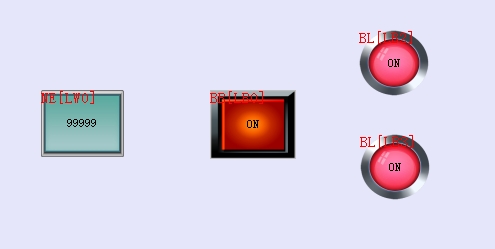
When the value of LW0 is 0, Tag_0 points to the address LB2 corresponding to Tag_2. By clicking the bit button, the status of the bit lamp corresponding to LB2 changes accordingly.
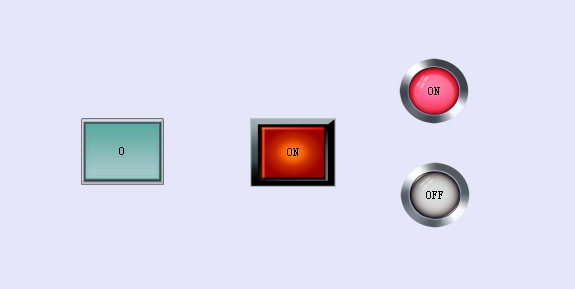
When the value of LW0 is 1, Tag_0 points to the address LB3 corresponding to Tag_3. By clicking the bit button, the status of the bit indicator light corresponding to LB3 changes accordingly.